Crispy Rice Paper Rolls – Vegan
Making crispy rice paper rolls seemed a bit too complicated to me. I’m no vegan chef!
I really never would have attempted them if it wasn’t for random chance…
One day I was walking around the grocery store and picked up a package of rice paper on a whim. I thought I’d try making the rice paper spring rolls I’d seen on Instagram, or somewhere.
Are spring rolls vegan?
These crispy vegan rice paper spring rolls are! They’re vegan and delicious!

How to Make Vegan Spring Rolls:
You will need:
- Rice Paper.
- Tofu.
- Vegetables of Choice (I use carrots, red pepper, onion, asparagus).
- Sauce (I used Teriyaki sauce).
- Spices (I used minced garlic, tumeric and ginger)
How to Cook Fried Crispy Vegan Spring Rolls
The first thing to do is gather your ingredients and prep your work area.
Fill a bowl with water. You will use this to dip your rice paper in to soften it so you can wrap up your spring rolls.
Here are the steps you’ll follow to make these rolls:
- Pan-fry the spring roll filling.
- Dip the rice paper and roll up the filling in the paper.
- Pan-fry the spring rolls to a crispy outside.
Step 1: Pan-Fry the Spring Roll Filling
Ok so you can use any vegetables you like inside your vegan spring roll. I used peppers, carrots, asparagus and onions. Fry this in a little spray of oil and spices of your choice on a non-stick frying pan.
Break up your tofu to a crumbled texture like this:
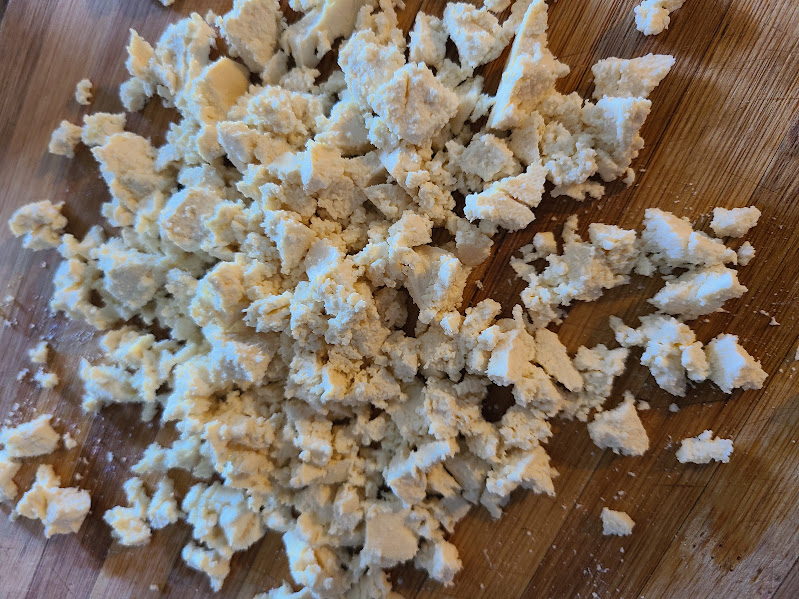
A meat chopper like this one from Amazon is the tool I use to quickly break up the tofu.

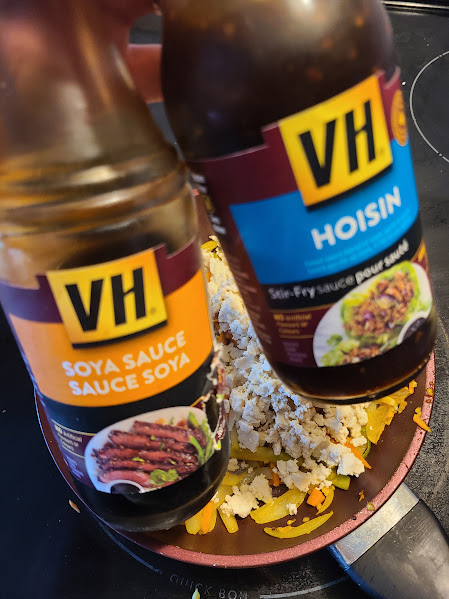
Add the tofu to the pan and then add spices and sauces. I use Tofu and Hoisin sauce.


Set your cooked fillings to the side.
Step 2: Dip the rice paper and roll up the filling in the paper.
Ok this part takes some getting used to but you can do it!

Dip the rice paper quickly into water for a few seconds, just enough to soften it.
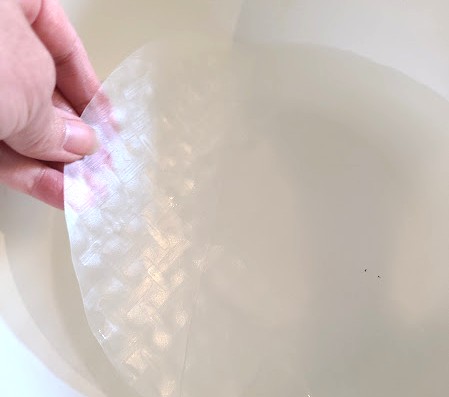
Then lay it flat, add your filling and roll it up like a little burrito.


Step 3: Pan-fry the spring rolls to a crispy outside.
Using your non-stick pan and a light spray of oil fry your spring rolls until they are crispy.
They’ll look something like this:

I love these spring rolls!
Yes, they take some work but they’re worth it! Next time I’ll try freezing them as well so I can make a bigger batch. I’ll let you know how that goes! That would make it easy to have a fast, delicious addition to a meal or as an appetizer!
Enjoy!
If you liked this you might like another recipe I created: